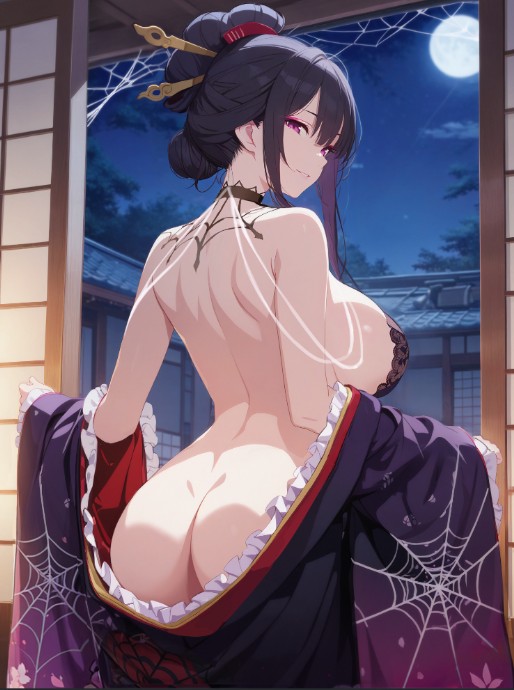
SSR Chaos Healer Healer
Jorogumo is a Chaos element healer. Her ultimate costs only 2 energy. She provides Umbrella Blossom buff to allies, and once they drop below 30% HP, she will trigger passive emergency healing. Her awakening 6 provides a shield equal to 50% of Jorogumo's maximum HP, and awakening 2 provides 12.5% enemy damage reduction and resistance. Her energy recovery is also increased by 10% with team skill.
Skill Priority
Skill level recommendations:
1
Ultimate: Umbrella Blossom
Level 14
Energy Cost: 2
After a short casting time, a healing area with a range of 5 is created, restoring the caster's attack power by 46% + 243 HP per second for 5 seconds. Allied characters within the area gain 1 stack of [Umbrella Blossom], up to a maximum of 5 stacks.
2
Passive: Umbrella Heal
Level 14
After an ally is attacked, if HP is below 30%, consume 1 stack of [Umbrella Flower] to gain 3 rapid heals of 15.1% Max HP within 1 second. The first 2 times gain 6 rapid heals.
3
Auto Skill: Blooming Sweet Rain
Level 14
Cooldown: 3.0s
The friendly unit with the lowest current health percentage gains a continuous health regeneration of 20.4% + 440 of its own attack power for 3 seconds; during the continuous regeneration, gain 10% all resistance.
4
Normal Attack: Eclipse Silk
Level 14
Cooldown: 2.0s
Deals 120% ATK Chaos Damage to a target enemy.
Recommended Memory Cards
These are the best memory cards for Jorogumo:
Healing increased by 35%. When healing a target with 'Continuous Damage' status, healing is increased by an additional 25%. If target HP is below 50%, grant continuous healing effect, restoring 9% of caster's ATK as HP per second for 3 seconds, max 1 stack.
Stats: HP 6,000 / ATK 600 / DEF 600
Healing amount +30%; when recovering targets' life value is full, target damage +24% for 10 seconds.
Stats: HP 5,000 / ATK 500 / DEF 500
Alternative Memory Cards
Good alternative options if you don't have the recommended cards:
The wearer's attack power is increased by 33.5%, and the defense and health of allied units are increased by 40%. Upon entering the battlefield, the wearer is granted the [Geo Boundary] buff every 3 seconds, which is reduced by 5% when taking damage, up to a maximum of 15 stacks.
Stats: HP 6,000 / ATK 600 / DEF 600
HP increased by 40%, Healing Amount increased by 40%. When the wearer heals within 1 second, Healing Amount additionally increased by 40%
Stats: HP 6,300 / ATK 580 / DEF 585
Runes Priorities
Focus on these rune stats for Jorogumo:
Highly Recommended Stats:
ATK% ATK Healing Effectiveness%
Additional Stats:
HP% DEF%
Build Note: Focus on ATK% first since Jorogumo's healing scales with her attack power. Healing Effectiveness% provides additional healing amplification. HP% and DEF% improve survivability.
Recommended Rune Sets:
Daleth 4-piece + Zane 2-piece
2-piece (Daleth): Healing effect increases by 10%
4-piece (Daleth): At battle start, instantly gain 1 energy
2-piece (Zane): HP increases by 8%
Alternative Builds:
Zane 4-piece + Daleth 2-piece
2-piece (Zane): HP increases by 8%
4-piece (Zane): After casting an ULT, self damage taken decreases by 5% for 10 seconds
2-piece (Daleth): Healing effect increases by 10%
Main Stats by Position
Recommended main stats for each rune position for Jorogumo:
Position 1: Fixed Main Stat
Always HP - no other options
Position 2: Fixed Main Stat
Always Attack - no other options
Position 3: Fixed Main Stat
Always Defense - no other options
Position 4: Variable Main Stats
Recommended: Healing Effectiveness (%) / Attack (%)
Available Options:
Healing Effectiveness (%) Critical Rate (%) Critical Damage (%) Attack Penetration (%) Attack (%) HP (%) Defense (%)
Healing Effectiveness% is ideal for maximizing all healing output. Attack% is also excellent since Jorogumo's healing scales with ATK.
Position 5: Variable Main Stats
Recommended: Attack (%)
Available Options:
Wind Attribute Damage (%) Fire Attribute Damage (%) Ice Attribute Damage (%) Holy Attribute Damage (%) Chaos Attribute Damage (%) Attack (%) HP (%) Defense (%)
Position 6: Variable Main Stats
Recommended: Attack (%)
Available Options:
Attack (%) HP (%) Defense (%)
Attack% is the best choice for maximizing Jorogumo's healing output. HP% or DEF% can be used if more survivability is needed.
Awakening Priority
Healing output increased by 20%
Immediately activates Ultimate without cost upon entering battle. After using Ultimate, gain [Umbrella Protection]: Allies' non-Dark resistance increased by 40%, enemy damage reduced by 12.5% (lasts 5 seconds).
[Basic Attack], [Skill], [Ultimate], and [Passive] level and level cap +2
Attack power increased by 30%
[Basic Attack], [Skill], [Ultimate], and [Passive] level and level cap +2
[Umbrella Healing+] The passive effect triggers twice for the first two activations, and also grants a shield equal to 50% of Jorogumo's maximum HP.
Team Synergy
Good Teammates:
Hela - they work well together because Hela has a passive that increases crit damage when paired with Chaos charactersFriggaFreyaKellerLust - AsmodeusThor
Jorogumo needs quite a bit of investment to be SSS tier. She is a good healer, but if you have her at awakening 6 then she really shines! Going full HP on her at awakening 6 might be better than ATK for the shield scaling.